
Images
Configure article images in RankPine. Choose a style, set brand colours, add featured-image instructions, and regenerate images that need changes.
RankPine can generate on-brand images for every article — a featured image plus illustrations where they help. Configure this under Settings → Images. Everything saves automatically.
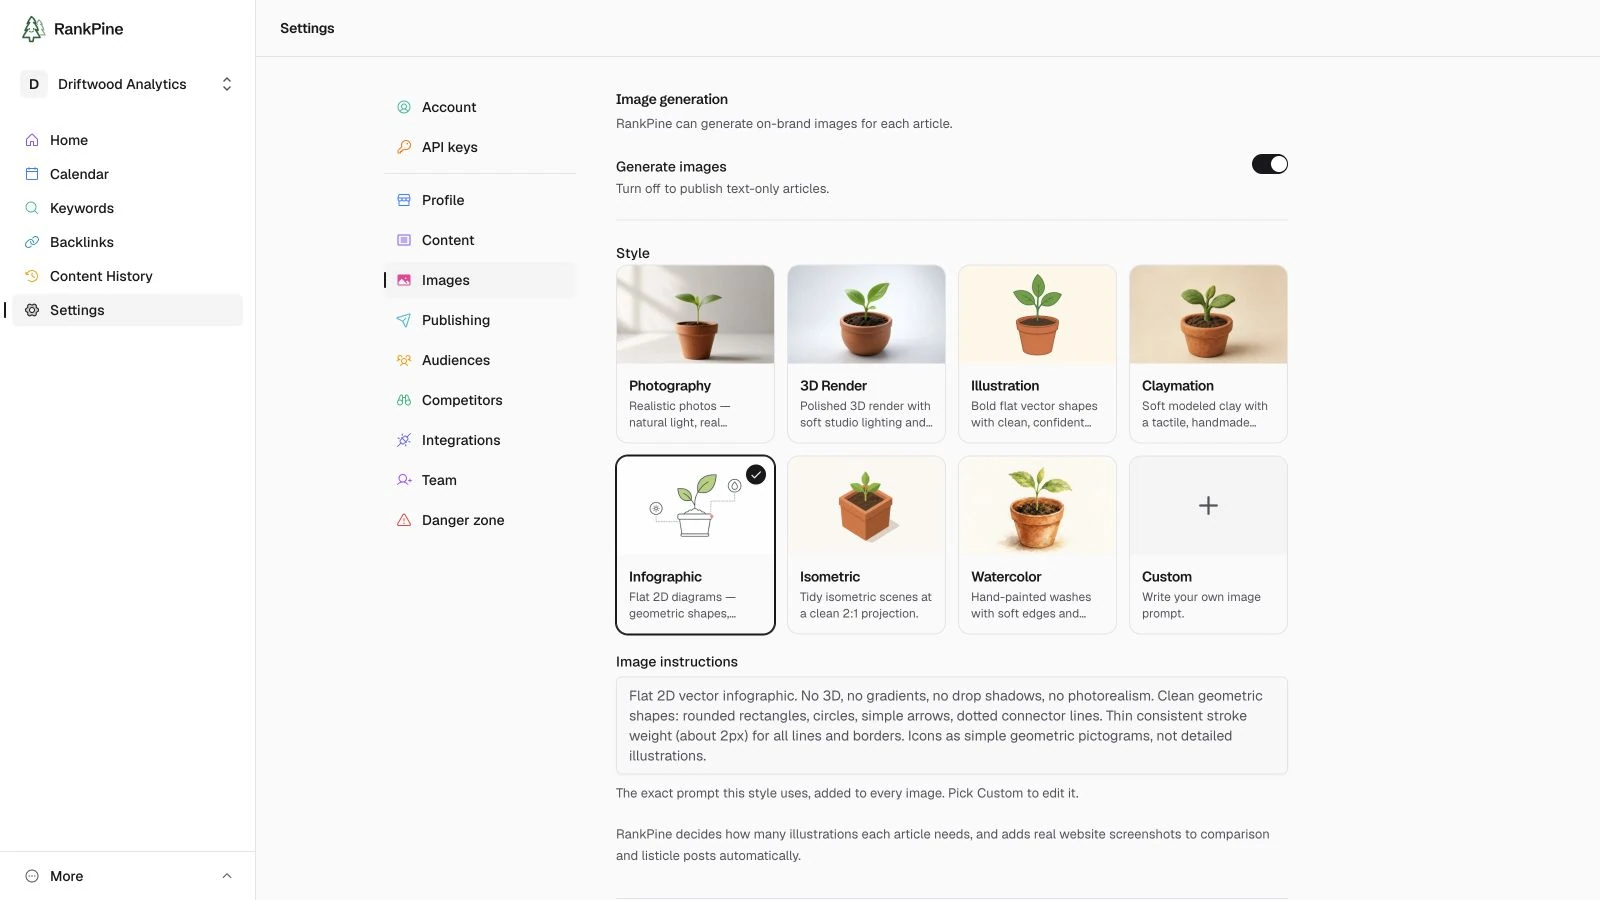
Generate images
The master switch. Turn it off to publish text-only articles. When it's on, you choose a style and (optionally) brand colours.
Image style
Pick the look that fits your brand:
- Photorealism (default)
- Flat illustration
- Claymation
- 3D render
- Minimal infographic
- Isometric
- Watercolor
- Custom — describe the style you want in your own words
RankPine decides how many
You don't set a count. RankPine works out how many illustrations each article needs, and automatically adds real website screenshots to comparison and "best tools" listicle posts.
Brand colours
Optionally set a background and an accent colour (as hex values). These are woven into the image prompts so generated images fit your palette.
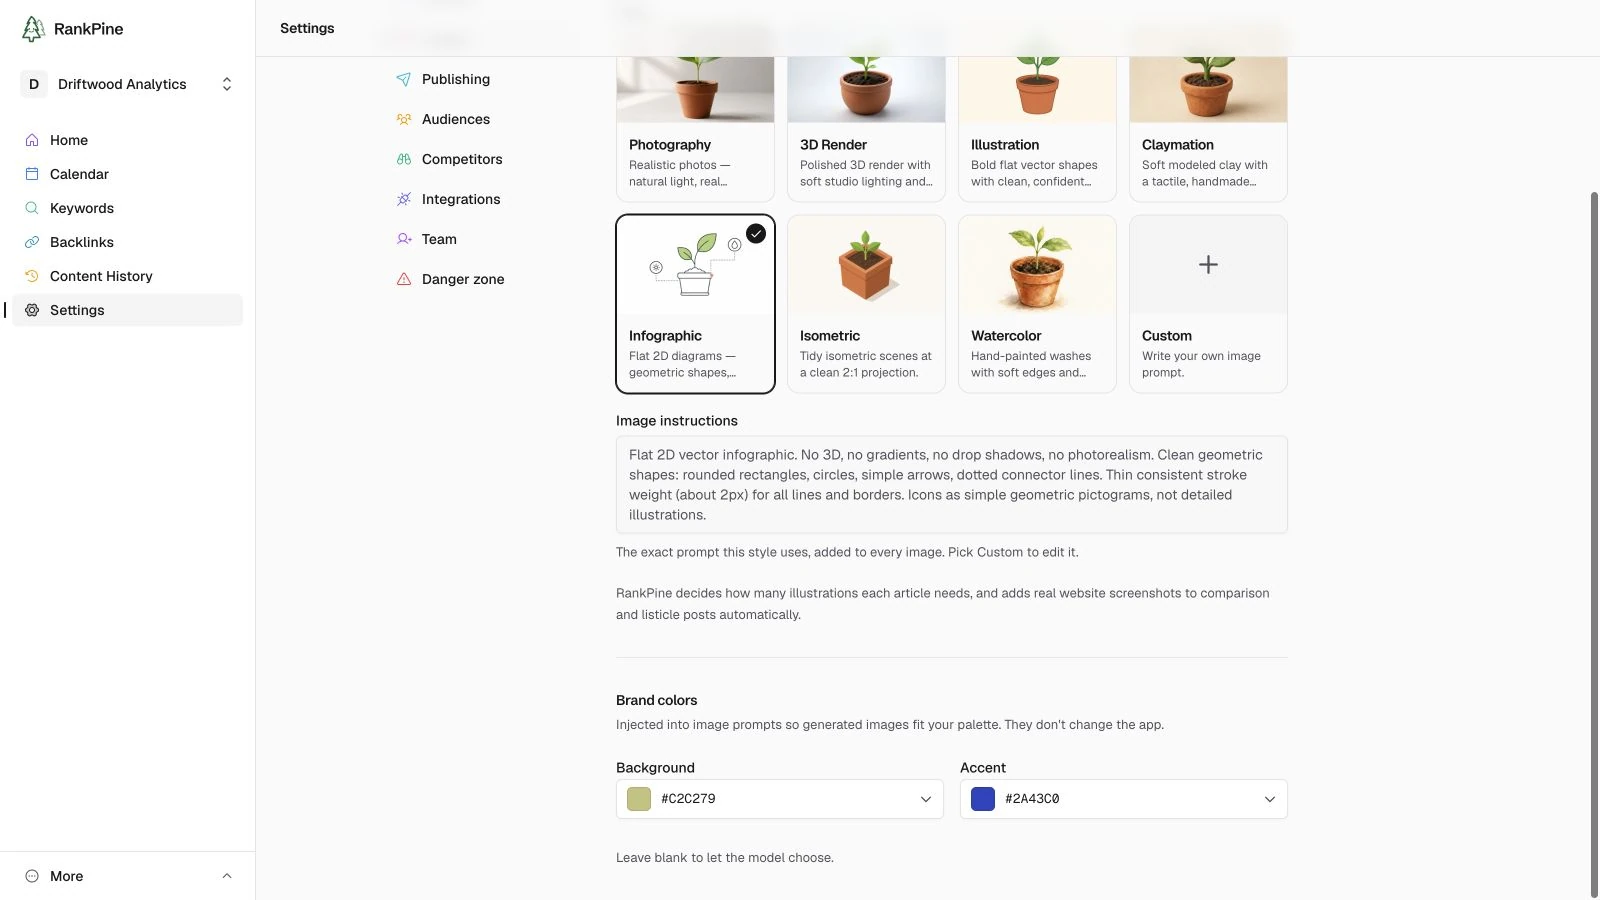
- They only affect generated images — they don't change the RankPine app or your site.
- Leave them blank to let the model choose colours for each image.
Featured image instructions
Every featured image uses the same cover system by default: a consistent upper-left headline, stable typography and spacing, and one topic-specific visual anchored away from the text. Use Featured image instructions when your covers need a different recurring treatment, such as a dark background, a more minimal scene, or centred type. These instructions apply only to covers; inline illustrations continue to use the shared image style above.
Regenerating images
Don't love a featured image? Open the article and use Regenerate in the sidebar to get a fresh one. See Articles & the editor for the full editing workflow.